Category: Beverages

  • Caramel Slushie: A Cold Caramel Dream That Needs No Machine

    Caramel Slushie: A Cold Caramel Dream That Needs No Machine

    Imagine strolling through a summer fair, the scent of fresh caramel apples lingering in the air. Now, picture capturing that caramel magic in a chilled, spoonable form that you can whip up at home with just a few ingredients. This caramel slushie is more than a drink; it’s a nostalgic burst of flavor with an unexpected twist on classic sweetness.

    What sets this recipe apart is its simplicity and the way it invites you to play with textures. Thick, creamy caramel coats your palate, cooled down instantly by icy shards that crunch with every sip. No fancy machinery needed—just a blender and a dash of imagination to turn everyday ingredients into a chilly treat.

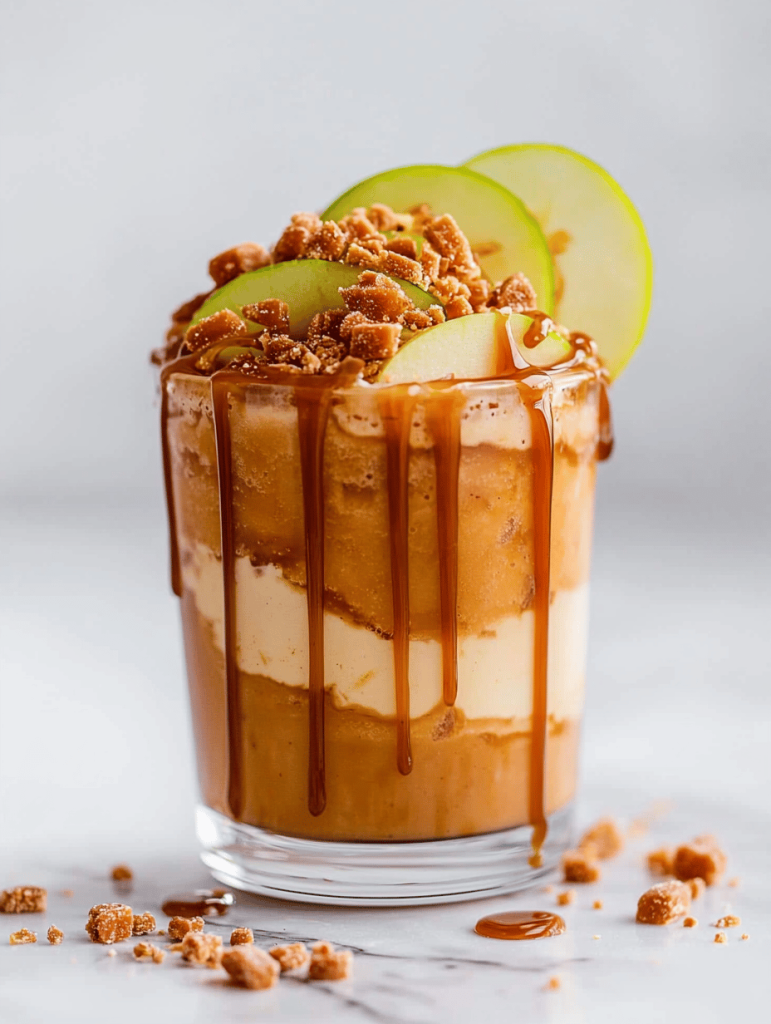
    Caramel Apple Caramel Slushie

    This caramel apple caramel slushie is a chilled, spoonable treat combining the flavors of sweet caramel and tart apples. It is made by blending frozen apple chunks with caramel sauce and ice to create a thick, creamy texture with a refreshing crunch from the icy shards. The final presentation is a smooth, custard-like consistency with a caramel-drizzled top.
    Prep Time 10 minutes
    Total Time 10 minutes
    Servings: 2
    Course: Main Course
    Cuisine: American
    Calories: 250

    Ingredients
      

    • 2 medium apples preferably tart varieties like Granny Smith, peeled and chopped
    • 1/2 cup caramel sauce store-bought or homemade, slightly warmed for easier blending
    • 1 cup ice cubes preferably crushed or small for easier blending

    Equipment

    • Blender
    • Knife
    • Cutting Board

    Method
     

    1. Peel and chop the apples into small pieces, ensuring they are uniform for even freezing and blending.
    2. Arrange the chopped apples on a baking sheet or plate and freeze until solid, about 2 hours or overnight.
    3. Pour the cooled caramel sauce into the blender, adding the frozen apple chunks on top.
    4. Add the ice cubes to the blender, then secure the lid firmly.
    5. Blend everything on high speed until the mixture is thick, smooth, and scoopable, about 1-2 minutes. You should hear a steady whir and see a creamy, slightly frothy texture forming.
    6. Taste and, if desired, add a bit more caramel sauce for extra sweetness, then give it a quick pulse to combine.
    7. Scoop the thick slushie into glasses, allowing some caramel swirl to cascade down the sides for visual appeal.
    8. Finish with a light drizzle of additional caramel sauce over the top for added richness and presentation.
    9. Serve immediately with a spoon for a creamy, icy treat that’s perfect for hot days or as a nostalgic dessert.

    This caramel slushie is perfect for lazy weekend afternoons or spontaneous gatherings. Its rich aroma and silky texture make it a delightful escape from the heat. Plus, it’s a fun way to indulge without overdoing it on sugar—just a hint of caramel goodness cooling down your day.

    Next time you crave something sweet and refreshing, remember how easy it is to whip up this icy caramel delight. It’s a little bit nostalgic, a little bit chaotic, and all about enjoying the simple pleasures. So, grab your blender and start creating your own caramel oasis whenever the craving hits.

  • The Art of Chilling: Crafting the Perfect Oreo Slushie

    The Art of Chilling: Crafting the Perfect Oreo Slushie

    Imagine a sweltering summer day where the only thing you crave is something cold and nostalgic. That’s where this Oreo slushie steps in, blending childhood memories with a chaos of crushed cookies and icy sweetness. It’s not just a treat—it’s a celebration of simple ingredients turned into a summer masterpiece.

    For me, this recipe is more than just frozen cookies; it’s about rescuing a bad day with a spoonful of cold comfort. The creamy texture, punctuated by chocolatey bits, melts in your mouth with a crunch that’s oddly satisfying. Plus, it’s ridiculously easy to whip up, making every moment of it a small victory over the heat.

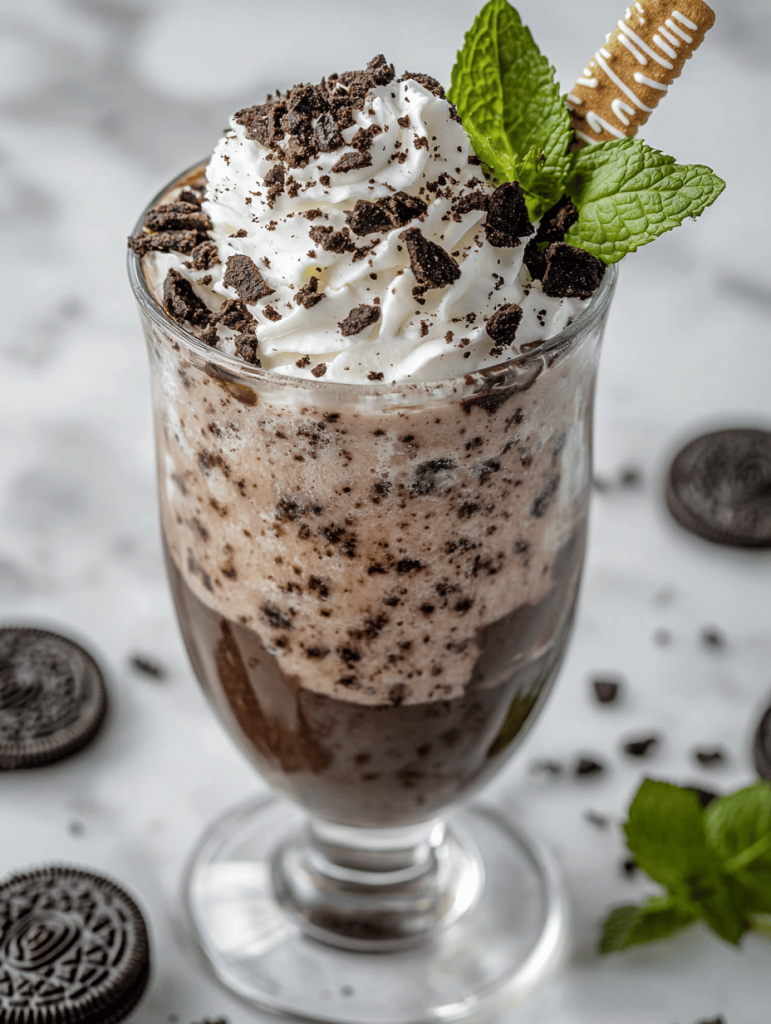
    Oreo Slushie

    This Oreo slushie combines crushed cookies with icy creaminess to create a cold, dessert-like drink. The mixture is blended until smooth, resulting in a thick, textured frozen beverage with crunchy bits of chocolate cookie throughout. It offers a refreshing and indulgent treat perfect for hot days.
    Prep Time 10 minutes
    Total Time 10 minutes
    Servings: 2
    Course: Main Course
    Cuisine: American
    Calories: 330

    Ingredients
      

    • 8 cookies Oreos roughly crushed
    • 1 1/2 cups vanilla ice cream frozen
    • 1/2 cup milk cold
    • 1 tablespoon sugar optional, for sweetness

    Equipment

    • Blender
    • Measuring cups and spoons

    Method
     

    1. Place the Oreos in a plastic bag and gently crush them into small pieces using a rolling pin or the bottom of a glass.
    2. Add the crushed Oreos, vanilla ice cream, cold milk, and sugar (if using) into the blender.
    3. Secure the lid on the blender and blend on high speed until the mixture is smooth and creamy, about 30-45 seconds, with visible bits of crushed cookies throughout.
    4. Stop the blender and check the consistency; if it’s too thick, add a splash more milk and blend briefly to loosen.
    5. Pour the slushie into glasses, allowing the sweet, crunchy bits of Oreo to be visible on top and throughout.
    6. Serve immediately with a straw or spoon for a decadent, icy treat.

    Notes

    For an extra indulgence, top with whipped cream or drizzle with chocolate syrup.

    This Oreo slushie captures the essence of carefree summers and the joy of spontaneous joy in a glass. It’s perfect for those lazy weekends or as a quick cool-down after a hectic day. Once you’ve tried it, you’ll find yourself reaching for the blender long before the temperature climbs too high.

    In the end, it’s about relishing simple pleasures and adding a little chaos to your dessert routine. Whether you serve it up at a party or sneak it into your movie night, this treat promises a chilly, chocolaty memory in every spoonful.

  • The Surprising Charm of Gatorade Slushies on Hot Days

    The Surprising Charm of Gatorade Slushies on Hot Days

    Few things beat the thrill of cooling down with a icy drink that hits just right. Traditionally, Gatorade gets us through workouts, not as a frozen treat, but I discovered its potential to transform into a vibrant, refreshing slushie. The moment the icy mixture hits your tongue, it’s a burst of cold, sweet nostalgia mixed with a splash of chaos.

    This recipe takes the familiar sports drink and turns it into a playful, unexpected summer sipper. It’s perfect for backyard barbecues, spontaneous pool days, or just craving a quick chill. The best part? It’s so simple, you can whip up a batch in minutes, no fancy equipment needed.

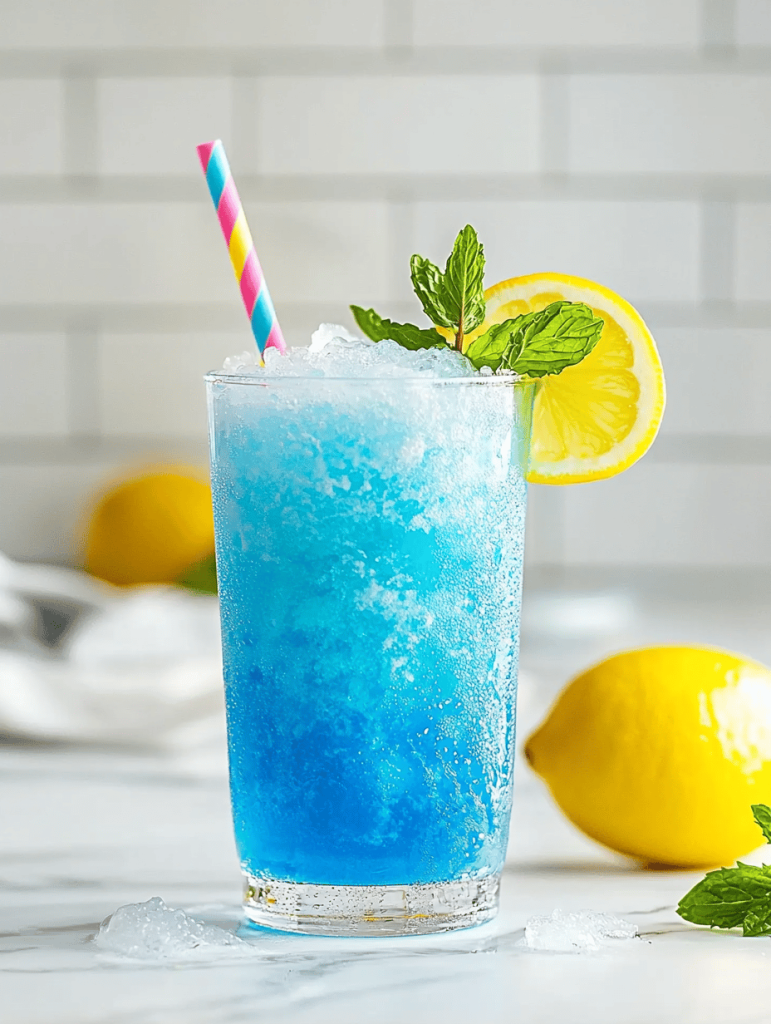
    Frosty Gatorade Slushie

    This recipe transforms classic Gatorade into a vibrant, icy slushie by freezing it along with sweeteners and then blending until smooth. The mixture develops a refreshing, slushy texture with a bright, colorful appearance, perfect for hot days. The process involves freezing, blending, and serving as a chilled beverage.
    Prep Time 5 minutes
    Total Time 5 minutes
    Servings: 4
    Course: Main Course
    Cuisine: American
    Calories: 50

    Ingredients
      

    • 4 cups Gatorade (any flavor) preferably chilled
    • 2 tablespoons sugar or honey optional, for extra sweetness

    Equipment

    • Freezer
    • Blender

    Method
     

    1. Pour the Gatorade into a shallow baking dish or tray, spreading it out evenly.
    2. Place the dish in the freezer and let it freeze for about 2 hours, stirring every 30 minutes to ensure even freezing and prevent large ice crystals.
    3. Once the mixture is fully frozen and icy, break it into smaller chunks using a fork or spoon.
    4. Add the frozen chunks into a blender along with the sweetener if desired.
    5. Blend the mixture on high speed until it becomes smooth and slushy, about 30 seconds. You may need to stop and scrape down the sides.
    6. Pour the vibrant, icy Gatorade slushie into glasses.
    7. Garnish with a slice of citrus or a colorful straw for a fun touch.

    Notes

    For a creamier texture, add a dollop of yogurt or a splash of fruit juice before blending.

    Sometimes, the simplest ideas turn out to be the most fun. Gatorade slushies aren’t just for kids—they’re a nostalgic throwback with a modern, icy twist. Plus, they’re a no-fuss way to stay cool and hydrated without sacrificing flavor.

    As the summer heats up, I find myself reaching for this chill treat more often. It reminds me of long, lazy afternoons and makes every sip feel like a tiny celebration of the season. Sometimes, all you need is a slushie to turn around a hot day.

  • Spine-Chilling Delight: The Halloween Poison Apple Martini

    Spine-Chilling Delight: The Halloween Poison Apple Martini

    As the leaves turn and the air grows crisp, I find myself craving something both eerie and elegant. The Halloween Poison Apple Martini combines the haunting allure of a witch’s brew with the refreshing zing of a perfectly shaken cocktail. It’s a spooky twist on a classic that transforms your gathering into a mysterious soirée.

    Visualizing this drink, deep green and shimmering with a toxic glow, feels like creating liquid enchantment. The aroma of crisp apple and a whisper of mint makes it irresistible, even to those who think they’ve had enough of pumpkin spice. This cocktail isn’t just a drink; it’s an experience to celebrate the spooky season.

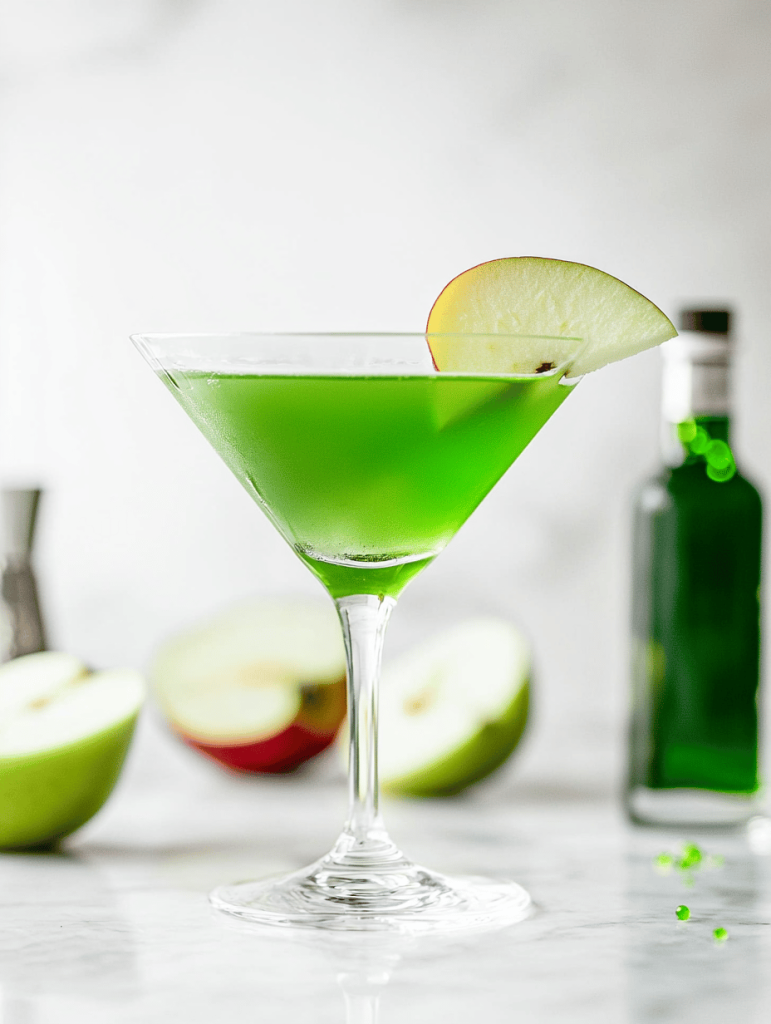
    Halloween Poison Apple Martini

    The Halloween Poison Apple Martini is a vibrant cocktail featuring a deep green hue with a shimmering, toxic glow. It combines crisp apple flavors with a touch of mint and is shaken with vodka and apple liqueur, resulting in a smooth, visually striking drink perfect for spooky gatherings.
    Prep Time 5 minutes
    Total Time 5 minutes
    Servings: 1
    Course: Main Course
    Cuisine: cocktail
    Calories: 210

    Ingredients
      

    • 1.5 oz vodka preferably a neutral brand
    • 0.75 oz apple liqueur such as Sour Apple Pucker
    • 1 oz green apple juice fresh or store-bought
    • 0.25 oz fresh lime juice adds brightness
    • 0.5 oz simple syrup adjust sweetness to taste
    • a few leaves fresh mint for garnish and flavor
    • ice ice cubes for shaking

    Equipment

    • Cocktail shaker
    • Martini glass

    Method
     

    1. Fill your cocktail shaker halfway with ice cubes to chill the drink thoroughly.
    2. Add the vodka, apple liqueur, green apple juice, fresh lime juice, and simple syrup to the shaker.
    3. Secure the lid tightly and shake vigorously for about 15 seconds until the mixture feels cold and frosty with a slight chattering sound.
    4. Remove the shaker lid and strain the mixture into a chilled martini glass, catching the liquid to create a smooth, vibrant green appearance.
    5. Garnish the drink with a few fresh mint leaves placed gently on top or on the rim for a touch of freshness and visual contrast.
    6. Your Halloween Poison Apple Martini is now ready to serve! Its shimmering green glow and spooky vibe make it a perfect centerpiece for your Halloween celebration.
    Come twilight, this Poison Apple Martini becomes the star of your haunted house party. Its eerie hue and tantalizing aroma set the perfect mood for mischief and merriment. Whether you’re noshing on candied apples or just soaking in flickering candlelight, it’s the perfect finishing touch.

    So, raise your glass to a Halloween filled with fun, fright, and a little bit of liquid magic. The Poison Apple Martini is sure to bewitch everyone you invite, making your October nights even more memorable.

  • The Surprising Charm of Pineapple Slushie: A Tropical Escape in Every Sip

    The Surprising Charm of Pineapple Slushie: A Tropical Escape in Every Sip

    Having grown up in a household where desserts often doubled as nostalgic rituals, I never imagined a simple slushie could transport me back to lazy summer afternoons under a swaying palm tree. This pineapple slushie is more than a frozen drink; it’s a doorway to sunshine, warm breezes, and spontaneous laughter. Its vibrant aroma alone—sweet, tangy, and slightly tropical—sparkles with memories I thought I’d long forgotten.

    What started as a quick refreshment became a creative experiment in my kitchen, transforming dull afternoons into tropical getaways. The secret is in the luscious pineapple chunks paired with just enough lime and a hint of mint, creating a symphony of flavors that dance on your palate. It’s surprisingly easy, making it perfect even in the busiest moments or when unexpected guests arrive craving something cool and refreshing.

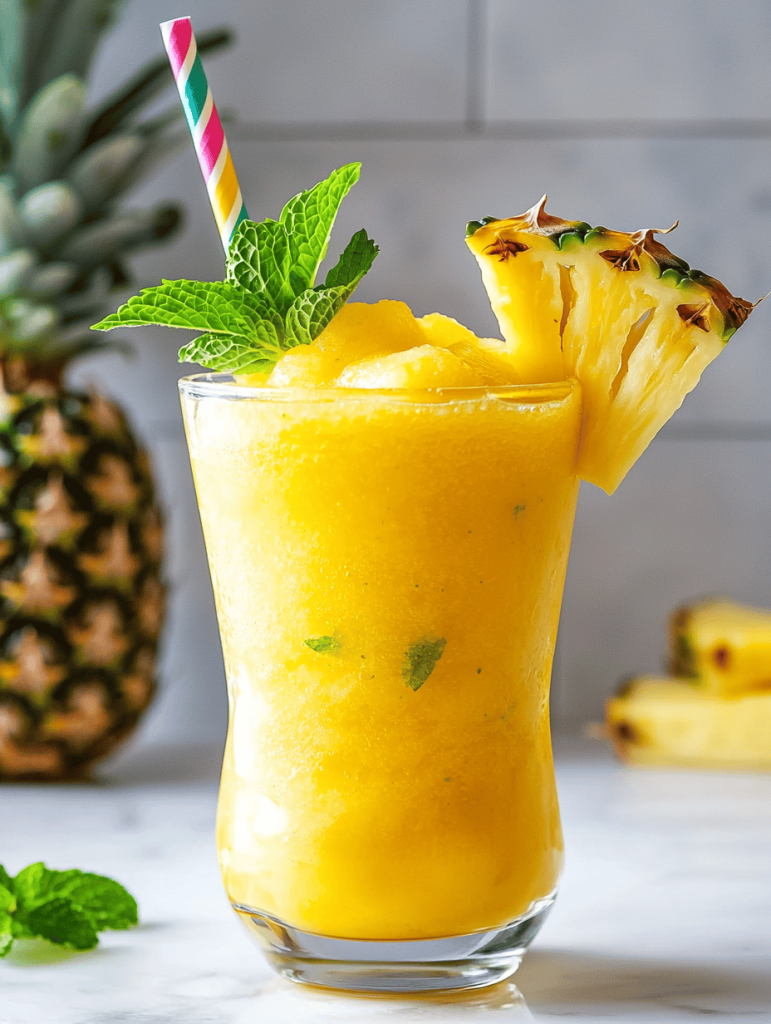
    Pineapple Mint Slushie

    This pineapple mint slushie is made by blending frozen pineapple chunks with fresh lime juice and mint leaves to create a vibrant, icy beverage. The final texture is smooth and slushy, with a refreshing, tropical aroma and tangy flavor profile that’s perfect for hot days.
    Prep Time 10 minutes
    Total Time 10 minutes
    Servings: 2
    Course: Main Course
    Cuisine: Tropical
    Calories: 85

    Ingredients
      

    • 2 cups frozen pineapple chunks preferably flash-frozen
    • 1 lime lime, juiced about 2 tablespoons of lime juice
    • 8-10 fresh mint leaves mint leaves for flavor and garnish

    Equipment

    • Blender
    • Measuring cups
    • Knife
    • Cutting Board

    Method
     

    1. Measure out two cups of frozen pineapple chunks and place them into your blender.
    2. Juice a lime, aiming for about two tablespoons, and pour the fresh lime juice over the pineapple in the blender.
    3. Add the mint leaves to the blender, spreading them evenly among the other ingredients.
    4. Secure the lid on the blender and blend on high speed until the mixture is smooth and slushy, about 30-45 seconds. You should see a vibrant, icy texture with tiny specks of mint.
    5. Stop the blender and taste the slushie. Adjust by adding a splash of water or more lime juice if you prefer it tangier.
    6. Pour the vibrant, icy slushie into glasses. Garnish with extra mint leaves if desired for a fresh, aromatic finishing touch.
    7. Serve immediately with a straw or spoon and enjoy the refreshing, tropical flavors.

    This recipe is a vivid reminder that sometimes the simplest ingredients hold the greatest treasures. The punch of pineapple and citrus offers a refreshing pause, especially when the heat outside is relentless.

    Beyond its flavor, it’s a small celebration of summer’s unhurried joy. Whether you’re cooling down after a workout or just craving a moment of tropical bliss, this slushie is your go-to. It’s a reminder to slow down and savor the sweet, tangy tastes of vacation—anytime, anywhere.

  • Chill Out with a Whiskey Slushie: A Frozen Twist on Classic Spirits

    Chill Out with a Whiskey Slushie: A Frozen Twist on Classic Spirits

    Imagine a summer day where the heat isn’t your only enemy. Slipping a spoon into a glass of icy, boozy goodness is the perfect way to beat the swelter and still enjoy those warm evening vibes. My secret? A whiskey slushie that freezes your worries away with every sip.

    This recipe is not just about cooling down; it’s about creating a nostalgic moment with a frozen twist. The aroma of whiskey blending with citrus and a hint of sweetness makes it feel like a grown-up treat. Perfect for a spontaneous gathering or a solo moment of escapism.

    Whiskey Slushie

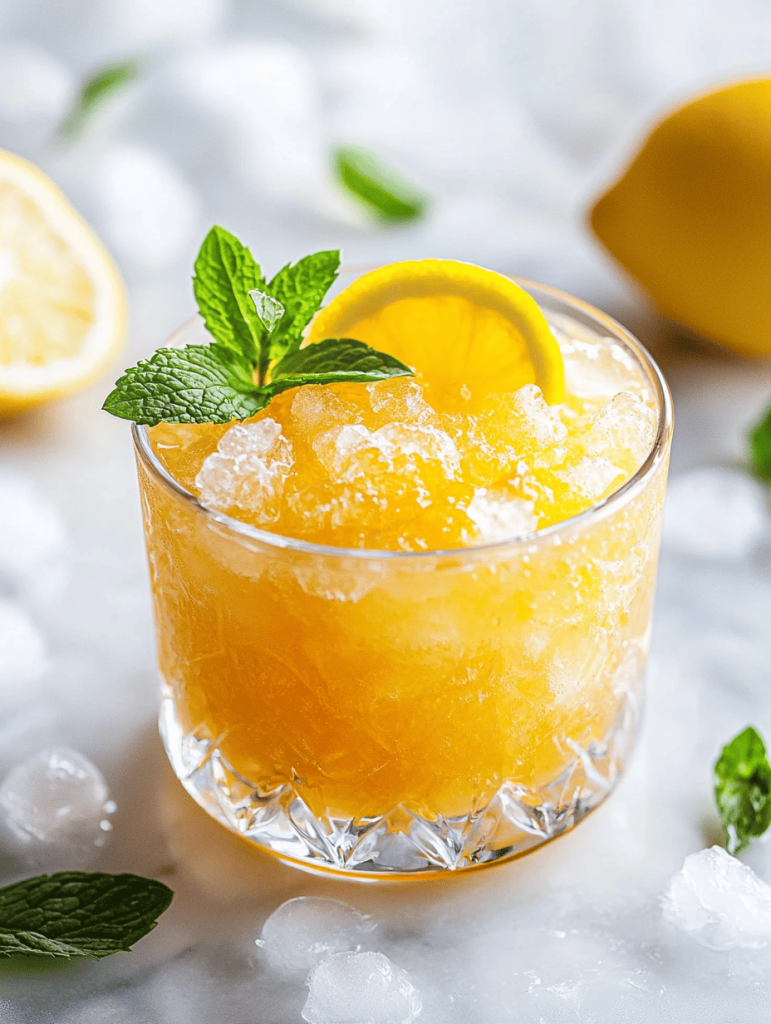
    The whiskey slushie is a frozen cocktail made by blending whiskey with citrus juice and sweetener, then freezing until smooth and scooped into glasses. Its icy, granular texture combines the refreshment of a cold treat with the warmth of whiskey, creating a layered, slushy final appearance.
    Prep Time 10 minutes
    Total Time 10 minutes
    Servings: 4
    Course: Main Course
    Cuisine: American
    Calories: 210

    Ingredients
      

    • 1 cup fresh citrus juice (lemon or lime) freshly squeezed for brightness
    • 0.5 cup simple syrup adjust sweetness to taste
    • 1.5 cups whiskey your choice of bourbon or rye
    • 1 cup water for thinning the mixture
    • ice cubes ice enough to fill the blender

    Equipment

    • Blender
    • Measuring cups and spoons
    • Serving glasses

    Method
     

    1. Measure out fresh citrus juice, simple syrup, whiskey, and water, then gather ice cubes.
    2. Pour the citrus juice, simple syrup, whiskey, and water into the blender.
    3. Add a generous handful of ice cubes to the blender to start freezing and thickening the mixture.
    4. Blend on high until the mixture is smooth, icy, and slushy with a granular texture.
    5. Check the consistency: it should be thick yet scoopable, with tiny ice particles visible.
    6. Pour the frozen slushie into chilled glasses, letting the icy mixture mound slightly above the rims.
    7. Garnish with a twist of citrus or a small citrus slice if desired.
    8. Serve immediately with a straw or spoon, enjoying the icy, boozy refreshment.

    Notes

    For a less sweet version, reduce the simple syrup or adjust the citrus to balance flavors. Adding a splash of soda water before serving can create a slightly fizzy variation.
    As the last ice crystals melt away, you’ll find yourself craving that cool fullness again and again. This whiskey slushie is more than just a drink—it’s a delightful escape tucked inside a glass.

    Enjoy experimenting with different whiskeys and mixers to tailor each batch to your mood. Whether you enjoy it on a porch wrapped in a blanket or at a summer party, it’s bound to become a favorite. Cheers to icy adventures and simple pleasures.

  • Chill out with an Unexpected Coffee Slushie Twist

    Chill out with an Unexpected Coffee Slushie Twist

    Imagine turning your usual coffee into a frosty escape, not in a mug, but in a glass of icy delight. This coffee slushie isn’t just a cold drink; it’s a sensory explosion of smooth, bitter coffee mixed with icy crunch that awakens all your taste buds. It’s perfect for those moments when you want caffeine but crave something refreshingly different.

    The best part? Its secret lies in the unexpected texture—an icy crash that cracks under your spoon, revealing a rich coffee flavor that’s both nostalgic and novel. This recipe takes just minutes, making it an ideal refreshment during hot days or when you need a quick boost for your creative projects. It’s not your average iced coffee, and that’s what makes it so addictive.

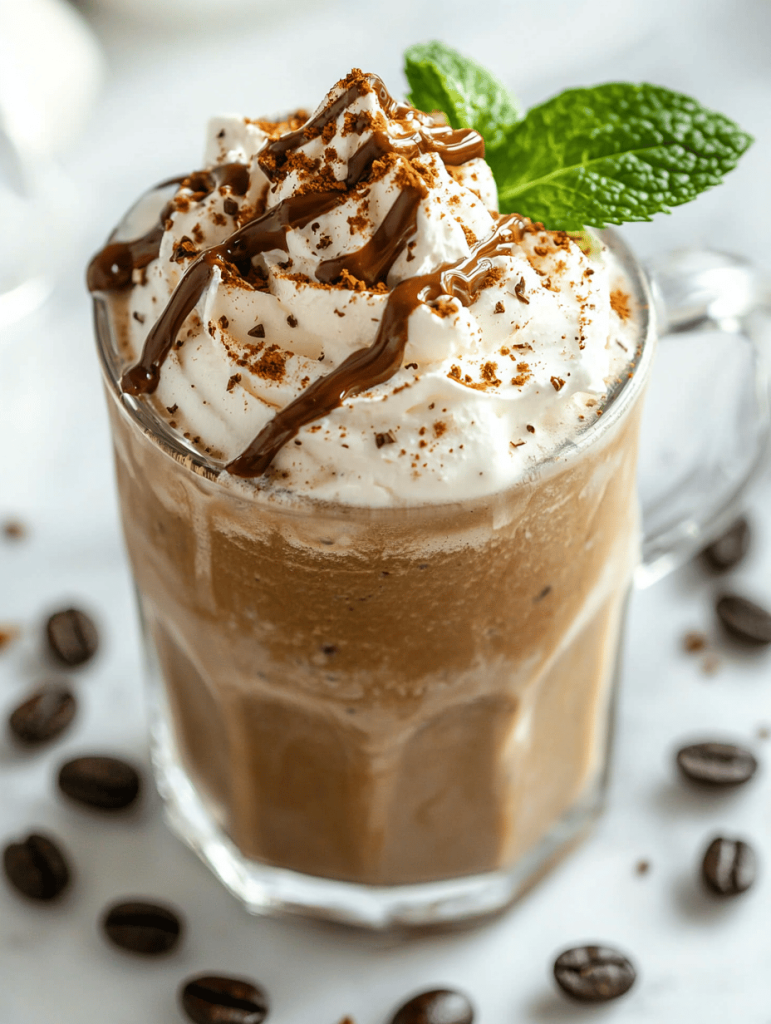
    Coffee Slushie

    A coffee slushie combines brewed coffee with ice and sweetener, blending until smooth to create a frosty, textured beverage. The final product is a vibrant, icy drink with a rich coffee flavor and a crunchy, slushy consistency that melts in your mouth.
    Prep Time 5 minutes
    Total Time 5 minutes
    Servings: 2
    Course: Main Course
    Cuisine: beverage
    Calories: 85

    Ingredients
      

    • 1 cup freshly brewed coffee cooled to room temperature
    • 2 cups ice cubes crushed for easier blending
    • 2 tablespoons sugar or sweetener adjust to taste

    Equipment

    • Coffee maker
    • Blender
    • Measuring cups
    • Large glass or jar

    Method
     

    1. Pour the cooled brewed coffee into a large glass or jar.
    2. Add the sugar or sweetener to the coffee and stir until fully dissolved, ensuring a uniform sweetness.
    3. Transfer the sweetened coffee to a blender, then add the crushed ice cubes for an icy space-filling effect.
    4. Secure the lid on the blender and blend on high speed until the mixture is smooth and slushy, about 30-60 seconds. You should see a thick, icy texture with visible ice crystals.
    5. Stop the blender and check the consistency; if it’s too thick, add a splash of extra cooled coffee and blend briefly to loosen, if too watery, add a few more ice cubes and blend again.
    6. Pour the frosty coffee slushie into glasses, letting the icy mixture spill over the edges for a visually appealing presentation.

    Notes

    For an extra flavor boost, top with whipped cream or a sprinkle of cocoa powder. Serve immediately for the best icy texture.

    Whether you’re hosting friends or just need a moment of cool tranquility, this coffee slushie is your best companion. Its simple ingredients and foolproof process make it a go-to for any coffee lover craving something icy and exciting. Plus, its playful texture will spark joy in every sip.

    As the seasons shift, having a frozen coffee treat at the ready feels especially right. It captures that carefree summer spirit while satisfying a cozy caffeine craving. Stirred, frozen, and enjoyed—this recipe is here to keep your days chilly and your spirits lifted.

  • Chill Out with the Most Unexpected Iced Tea Slushie Twist

    Chill Out with the Most Unexpected Iced Tea Slushie Twist

    As a passionate food blogger, I often find myself captivated by those small, surprising moments in the kitchen that turn a simple recipe into something extraordinary. Today, I want to share an iced tea slushie that’s not just refreshing but infused with an unexpected ingredient: fresh basil leaves. It’s a twist that sparks nostalgia and a touch of chaos in my usual tea routine.

    This recipe is perfect for summer days when the heat makes you crave something cool but not ordinary. The fragrant basil adds a layer of herbal complexity that dances with the sweet, tangy tea. It’s a spontaneous creation, born from a feeling of wanting something different yet familiar.

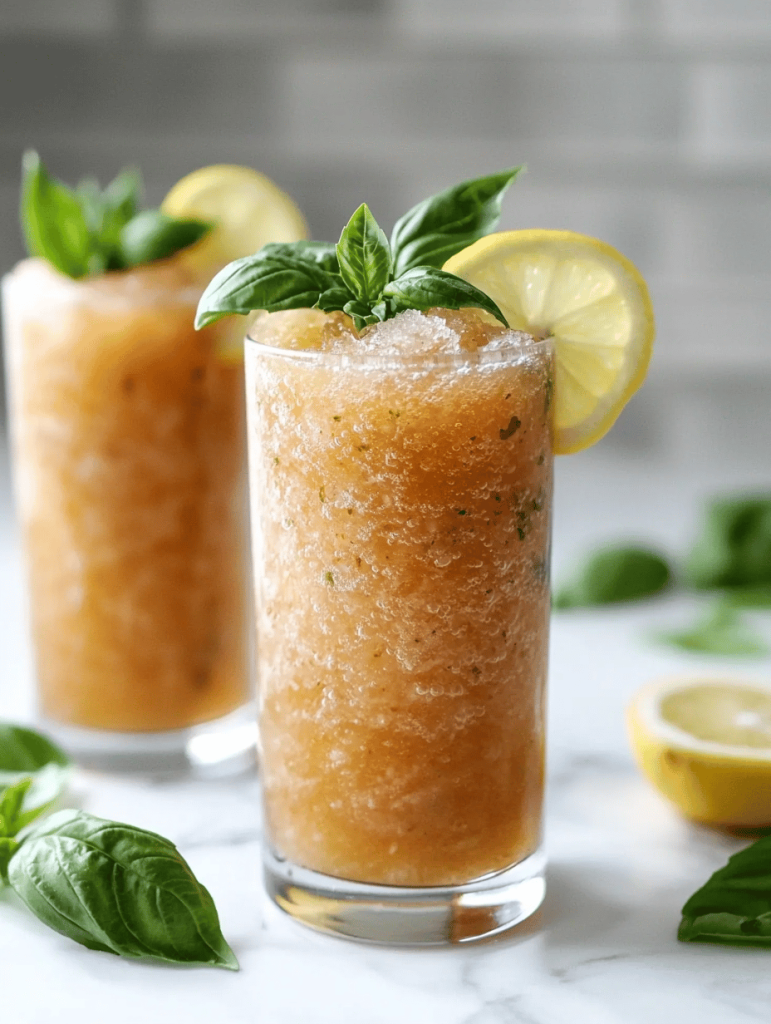
    Basil Infused Iced Tea Slushie

    This iced tea slushie combines brewed tea with fresh basil leaves, blended until smooth and icy. The final texture is a cold, refreshing beverage with a slightly herbal aroma and a vibrant, slushy consistency, perfect for hot summer days.
    Prep Time 10 minutes
    Cook Time 5 minutes
    Total Time 15 minutes
    Servings: 2
    Course: Main Course
    Cuisine: American
    Calories: 80

    Ingredients
      

    • 2 cups water for brewing tea
    • 2 bags black tea bags
    • 0.25 cup sugar adjust to taste
    • 1 cup fresh basil leaves
    • 1 cup cooled brewed tea
    • 1 cup ice cubes

    Equipment

    • Tea kettle
    • Blender
    • Measuring cups and spoons
    • Serving glasses

    Method
     

    1. Bring water to a boil in a kettle and pour over the tea bags in a heatproof pitcher. Steep for 3-5 minutes, then remove the tea bags and stir in sugar until dissolved. Let the sweetened tea cool to room temperature.
    2. Rinse the fresh basil leaves and add them to the cooled tea. Let them steep for about 10 minutes to infuse the herbal aroma.
    3. Remove the basil leaves from the tea, pressing gently to extract extra flavor, and discard the leaves. Pour the infused tea into your blender.
    4. Add the cooled brewed tea, ice cubes, and blend on high until the mixture is smooth and slushy, about 30-60 seconds.
    5. Pour the bright, icy basil tea slushie into glasses. Garnish with a fresh basil leaf if desired, and serve immediately for the best refreshment.
    This iced tea slushie offers a delightful way to beat the heat with a dash of adventure. The herbal freshness of basil combined with the chilled sweetness makes each sip feel like a mini escape. It’s a quick, simple recipe that adds a splash of creativity to your usual summer drinks.

    Whether you’re hosting friends or enjoying a solo moment of cool bliss, this slushie is a little twist that refreshes both your palate and your day. It’s a reminder that a simple ingredient can transform a basic iced tea into something truly memorable. Cheers to unexpected flavors and the joy of making new favorites.

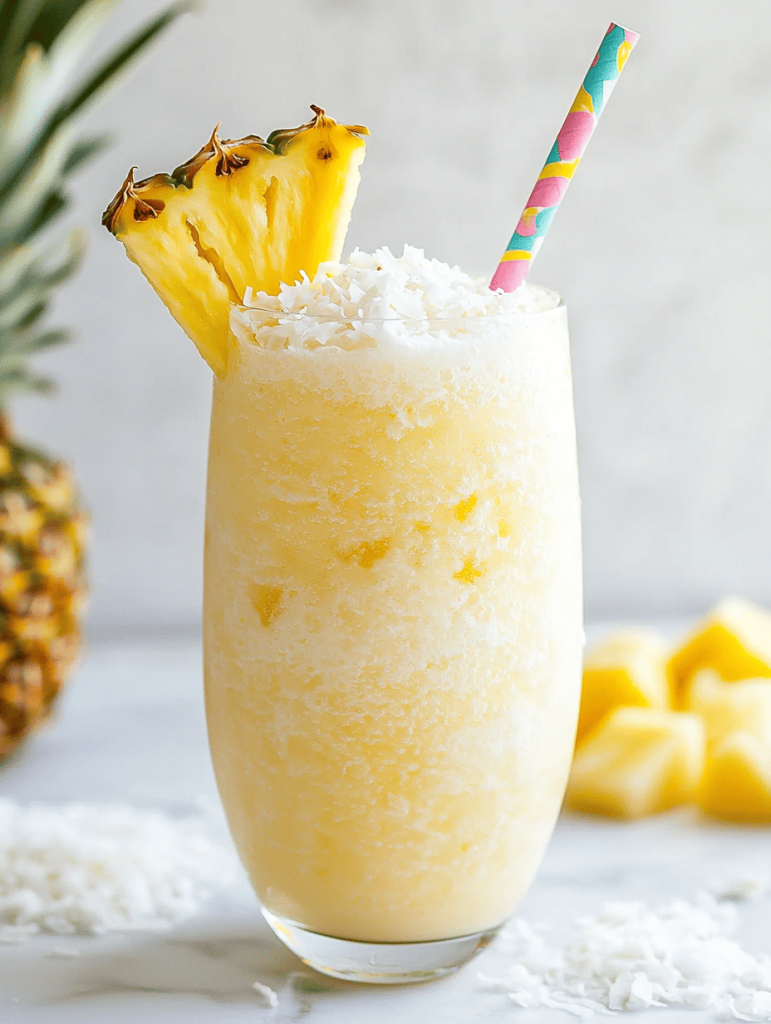
  • Chilling Secrets: The Unexpected Art of Pineapple and Coconut in a Slushie

    Chilling Secrets: The Unexpected Art of Pineapple and Coconut in a Slushie

    When I first thought of making a pi1a colada slushie, I didn1t want to craft another sugary frozen drink. Instead, I challenged myself to spotlight the less obvious: a hint of freshly grated pineapple zest and a splash of coconut water. This approach transforms the classic into a sensory adventure, making each sip a mini escape.

    This recipe is a celebration of tropical simplicity. It defies the usual heavy cream and artificial sweetness, leaning into fresh ingredients that crisp up in the freezer. As I blend, the ice crackles like ocean waves, promising a cool, invigorating experience. It1s not just a drink but a playful nod to summer days and spontaneous celebrations.

    Pineapple Coconut Slushie

    This frozen beverage combines fresh pineapple zest and coconut water blended with ice to create a crisp, icy texture. The use of minimal sweeteners highlights bright tropical flavors, resulting in a refreshing, slushy drink with a vibrant appearance. The final product is a chilled, semi-opaque mixture with a slightly frosty surface, perfect for summery refreshment.
    Prep Time 10 minutes
    Total Time 10 minutes
    Servings: 2
    Course: Main Course
    Cuisine: Tropical
    Calories: 100

    Ingredients
      

    • 1 cup fresh pineapple chunks preferably ripe and juicy
    • 1/2 cup coconut water preferably chilled
    • 1 cup ice cubes adjust for desired thickness
    • 1 teaspoon fresh pineapple zest for added flavor

    Equipment

    • Blender
    • Measuring cups and spoons

    Method
     

    1. Add the fresh pineapple chunks, coconut water, and ice cubes into your blender.
    2. Blend everything on high speed until the mixture is smooth and frosty, about 30-45 seconds. The ice should be fully crushed and the drink should feel icy and cold to the touch.
    3. Sprinkle in the fresh pineapple zest and give the mixture a brief pulse to incorporate the zest evenly—just 2-3 seconds.
    4. Pause briefly to check the consistency; the drink should be thick, icy, and resemble a slushie. If it’s too thick, add a splash more coconut water and blend again.
    5. Pour the slushie into chilled glasses, allowing the icy texture to settle slightly on top with a frosty appearance.
    6. Serve immediately with a straw or spoon, enjoying the cool, vibrant flavors and refreshing texture.

    Creating this pi1a colada slushie was a reminder that simplicity holds the best surprises. It1s perfect for those hot afternoons when you crave something cool and different, yet familiar. With just a handful of ingredients, you can conjure a vibrant treat that feels indulgent but is truly refreshing.

    In a world rushing towards complex cocktails and elaborate recipes, this slushie offers a fleeting moment of nostalgia and calm. Embrace the chaos of blending, enjoy the bright aroma of pineapple, and let every sip take you somewhere tropical, even if just for a moment.

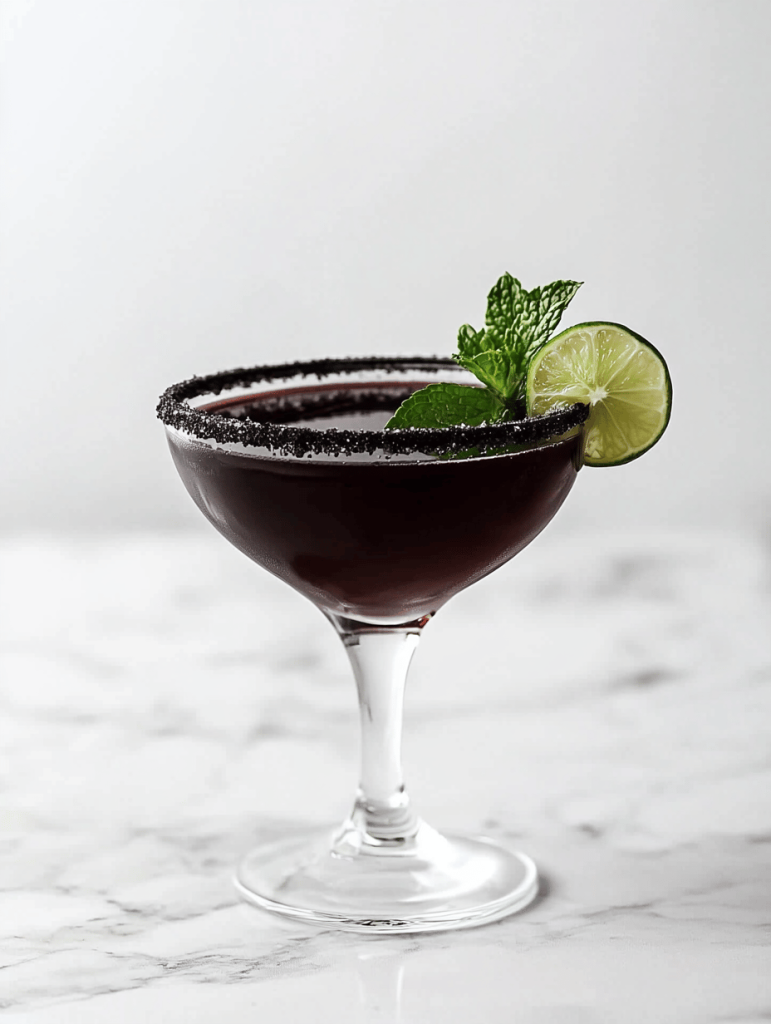
  • Enchanted Darkness: Halloween Black Magic Margarita

    Enchanted Darkness: Halloween Black Magic Margarita

    Ever wonder how to turn a classic margarita into a spellbinding potion? This Black Magic Margarita uses black volcanic salt and a mysterious, deep color that feels like Halloween in a glass. Perfect for adding a touch of ominous elegance to your spooky night.

    Imagine the silken texture of the tequila, kissed with smoky notes, swirling with the vivid darkness of blackberries and activated charcoal. The frosty rim, sprinkled with shimmering black salt, crackles softly as you sip, unveiling a vibrant citrus burst that cuts through the darkness. It’s a drink that is both a visual feast and an intoxicating thrill.

    This recipe isn’t just about the aesthetic; it’s about creating a mischievous moment that invites curiosity and laughter. A little chaos, a little magic—this margarita is your new Halloween ritual, blending the strange and the sublime in every sip.

    Black Magic Margarita

    A visually striking cocktail featuring a deep black hue achieved with activated charcoal and black volcanic salt. The margarita combines smooth, smoky tequila with bright citrus flavors, finished with a shimmering black salt rim and icy texture, creating a mysterious yet refreshing drink.
    Prep Time 10 minutes
    Total Time 10 minutes
    Servings: 2
    Course: Main Course
    Cuisine: cocktail
    Calories: 180

    Ingredients
      

    • 3 oz blanco tequila
    • 1 oz fresh lime juice preferably freshly squeezed
    • 0.5 oz simple syrup adjust for sweetness
    • 1 pinch activated charcoal powder food grade for drinks
    • 1 tbsp black volcanic salt for rimming the glass
    • Ice cubes ice for shaking and serving
    • Lime wedge lime wedge for garnish and moistening the glass rim

    Equipment

    • Cocktail shaker
    • Lime juicer
    • Rimming dish or shallow plate
    • Small spoon or cocktail pick

    Method
     

    1. Start by preparing your glass rims: use a lime wedge to moisten the edge of each glass, then press them into the black volcanic salt spread in a shallow dish to create a shimmering black rim.
    2. Fill your cocktail shaker with ice cubes, then pour in the tequila, fresh lime juice, and simple syrup.
    3. Add a pinch of activated charcoal powder to the shaker. This gives the cocktail its deep, smoky black color. Secure the lid tightly.
    4. Shake vigorously for about 15 seconds until the mixture is well chilled and the charcoal is fully dispersed, turning the drink a mystical deep black.
    5. Strain the mixture into the prepared glasses, pouring carefully over fresh ice if desired, to maintain clarity and color.
    6. Garnish each glass with a lime wedge on the rim and add a small spoonful of black volcanic salt on top for a shimmering, crackling garnish.

    Notes

    Ensure you use food-grade activated charcoal to avoid any health risks. Adjust the amount of simple syrup for sweeter or more tart flavors. For an extra spooky effect, serve with dry ice (with caution) to add mist around the glass.
    As the night deepens, this Black Magic Margarita remains a mysterious companion. Its rich, dark allure will surprise guests and conjure conversation. A perfect mix of fun and eerie elegance, it will make your Halloween gathering unforgettable.

    Stay playful and daring in the kitchen, and let every sip be a little spell of joy. Halloween is about embracing the wild, enchanting spirit we rarely reveal. Cheers to creating magic in every glass, one hauntingly good margarita at a time.